


I love this cake - it's so girly! Yes, this is indeed a cake - or rather, the bottom half of the doll is cake. Her dress is made of fondant and her skirt is a chocolate cake - a delicious vegan recipe. In this post I'll also explain how to use a Garrett frill cutter, a piece of equipment I bought when I took a cake decorating class last year, and also review a brilliant new product I found at Ikea.
So how did this cake come about? Well, my friend Ros - who some of you know as The More Than Occasional Baker - decided she wanted a pink princess theme for her birthday party in September. We might be in our 30s but that's no reason not to embrace our inner child... or our inner princess! I was very honoured when she asked me to make her a birthday cake, as Ros is such an amazing baker herself. As soon as she told me the theme I thought of this cake - I'd seen pictures of them before but never made or eaten one. You basically take a doll, like Barbie or Bratz, bake a dome-shaped cake, and stick the doll in the middle and decorate the cake to look like her dress!
Ros also told me that one of her friends was vegan so asked if I could make a vegan cake. That was no problem - one of my closest friends is vegan so I've tried a few recipes and found this amazing vegan chocolate cake, it tastes nicer than almost any chocolate cake I've ever had!
My first challenge however was to find a doll. I didn't want to buy a brand-new Barbie as they're not cheap, and I don't know any children I could borrow one from, so luckily found some dolls in my local charity shop. Yes, I did wash it thoroughly!
I made the batter for the chocolate cake - as it is vegan, it doesn't use eggs or butter, but instead uses oil which makes it deliciously moist. You also use a cup of hot water in the mixture, which makes it a pretty runny batter, but it bakes really well. See here for the recipe.

I decided to bake the cake in a Pyrex ovenproof dish so it would be the right shape. I sprayed the bowl with Cake Release Spray and it did come out very smoothly.

Ready to go in the oven. I found it took a lot longer to cook than expected, I guess because the cake is so deep in the middle. I tested it a few times with a cake tester and put it back in the oven until I was happy it was cooked through.

I turned out the cake and allowed it to cool. I didn't think it was going to be big enough however, so I whipped up another batch of the same mixture, and cooked it in a small-ish (I think 7 inch) round cake tin.

The dome cake fit perfectly on the top of the round cake. If the round cake had been too big, I would have trimmed around the sides.

You can make vegan buttercream very easily, by using vegan 'margarine' such as Vitalite or Pure. Mix with icing sugar and cocoa powder.

I spread a thick layer of buttercream on the base cake and sat the dome cake on top.

I made a small circular hole with my cake corer (which is designed to make holes in cupcakes to fill them). It made a perfectly-sized round hole, though it didn't go very deep so I used a spoon to extend the hole downwards. I wrapped my Bratz doll in clingfilm from the waist down (after having thoroughly washed her, of course) and placed her in the cake. The perfect fit!

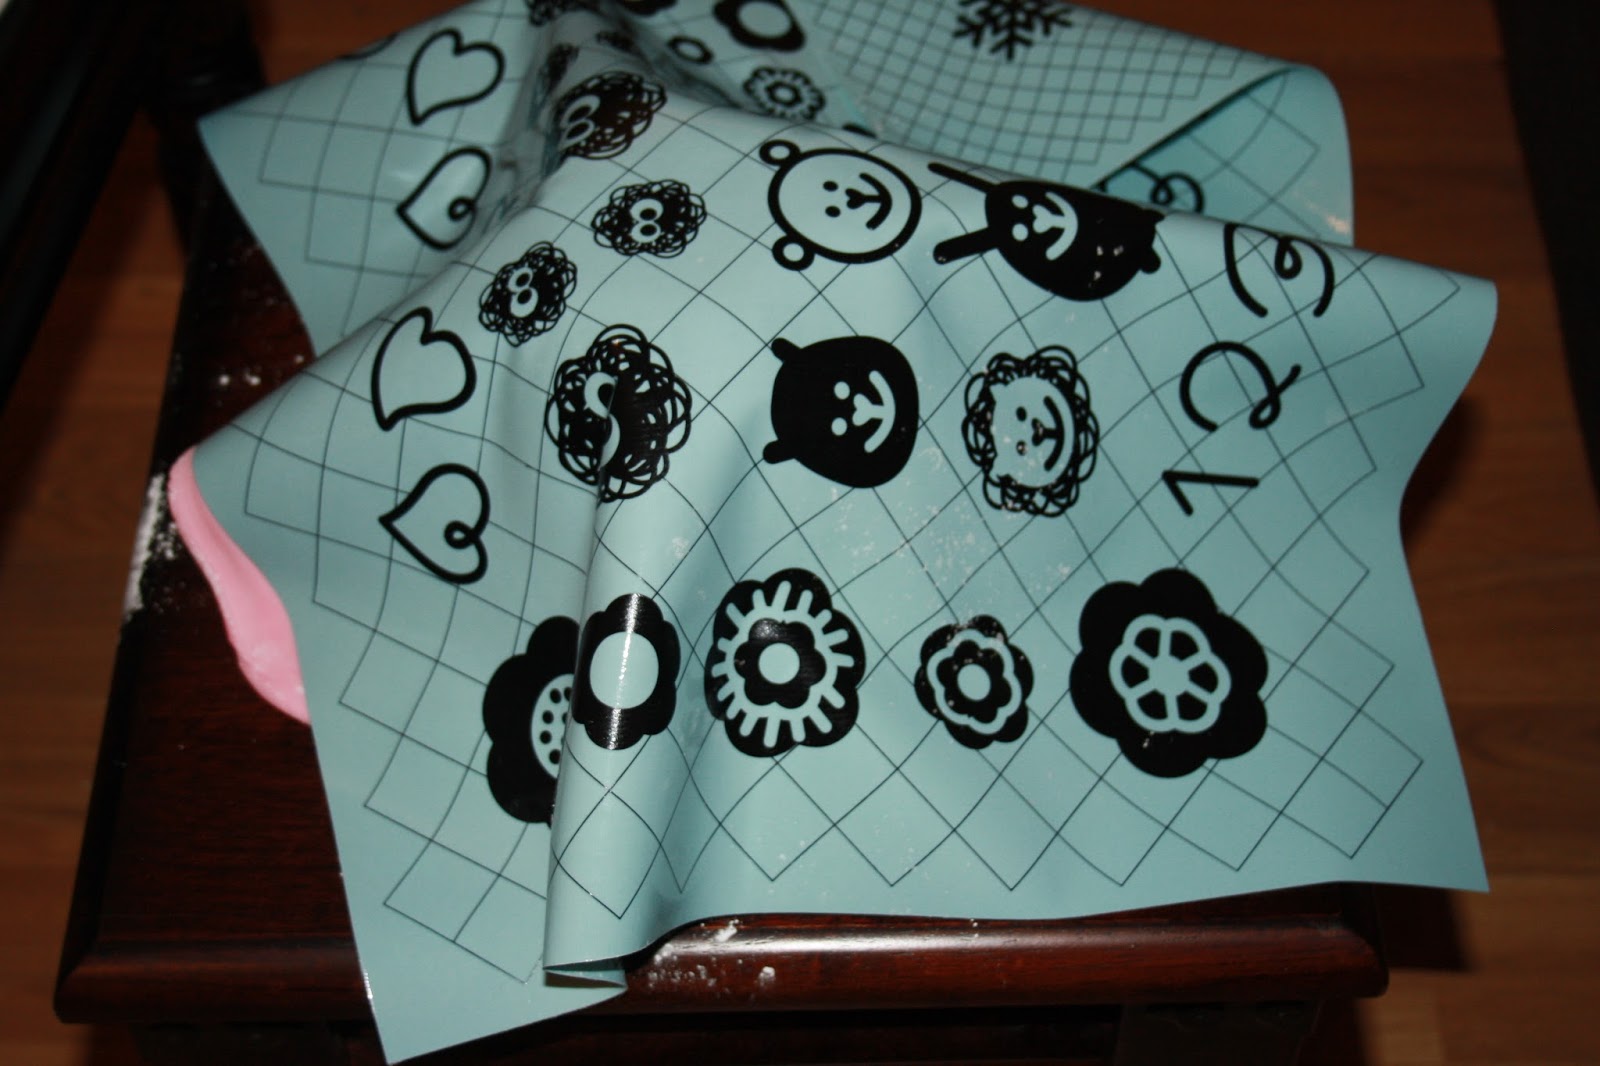
Now onto a product I bought only the day before which I was very pleased with. My boyfriend and I went to Ikea to buy a bookcase - as an aside, he has just moved in and saw how my cookery books were taking over the kitchen, as I have so many - and rather than suggesting I get rid of some, he went out to buy me a new bookcase for the living room to put them in. Readers, he's a keeper. Of course, he did manage to buy the wrong bookcase so we have to go back - which is not necessarily a bad thing! I've only been to Ikea a few times and when I do, I really enjoy browsing around their 'marketplace' area. I've picked up some nice cake tins and cookie cutters from there in the past, and this time found a rolled-up silicon baking mat and plastic knife for £9. I'm sure I remember seeing something similar at last year's Cake International for £40!
I always have a problem when rolling out fondant, as I don't have enough space on my kitchen worktop - they are not that wide and also my cookery books were lined up against the wall (not for much longer!). My dining room table has grooves as it has extendable sections, so I'm limited with what I can roll out on there too, and if I use a chopping board then I'm also limited. This mat is huge - 62cm x 45cm - and has patterns on both sides you could use as a template if you were piping or cutting something.

I coloured some fondant pink and rolled it out.

The mat is really thin and lightweight so it was very easy to pick it up, turn over so the fondant was covering the cake, then peel the mat off the back - so I covered my cake in one swift movement. I'm really pleased with this mat and can see myself using it a lot!
I took some of the same fondant and made a bodice for the doll. The fact that it was separate to the cake meant I could actually take the doll out and fit the cake in a standard cake carrier with the doll separate, then reassemble when I arrived at my friend's house.

I tried to fold the fondant in a few places so it looked like pleats on her dress, though I'm not sure I would bother with this next time.

I wanted to decorate her dress with some frills, and I have a Garrett frill cutter I bought for a cake decorating course (but then we never actually had time to use it). I had to look up on the internet how to use it, so I thought I would give instructions here. Mine was from PME and came with a wheel and three centre pieces of different sizes, which give different widths of frill. You clip the centre piece into the wheel. I've rolled out my icing - I used a mixture of flower paste and fondant so it would be stiffer than just fondant - and got the wheel ready here.

You just use the wheel to press down as you would a cookie cutter. You don't need the inner circle, just the outer one of what you cut out.

Take the outer piece and make a cut so you open the circle out. You then need a balling tool and ideally a foam pad; you need to gently rub each 'spoke' on the wheel until it curves upwards.

Then fasten onto the cake with edible glue. I did two layers all the way around.

I am going to hide the joins later


I used a butterfly plunger cutter and some fondant that I had coloured a slightly darker pink to make some nice shapes.

I attached these with edible glue at the places where the frills joined.

I also put a butterfly at the top of the doll's bodice and used the frill cutter with the darker fondant to go around her waist.

Here's the finished cake - a bit silly and very pink, but I think little girls - and not so little girls - would love this!
I am sending this to We Should Cocoa as the theme this month is 'chocolate showstoppers' and I think this cake is definitely a showstopper! The challenge is hosted by Choclette of Chocolate Log Blog.


0 comments:
Post a Comment